To enable this waitlist automation, please visit Contact Us to reach support team.
After the waitlist automation is enabled, please check the setup steps below:
Note: For information about manage waitlist registration ranking, please visit Waitlist Ranking Logic
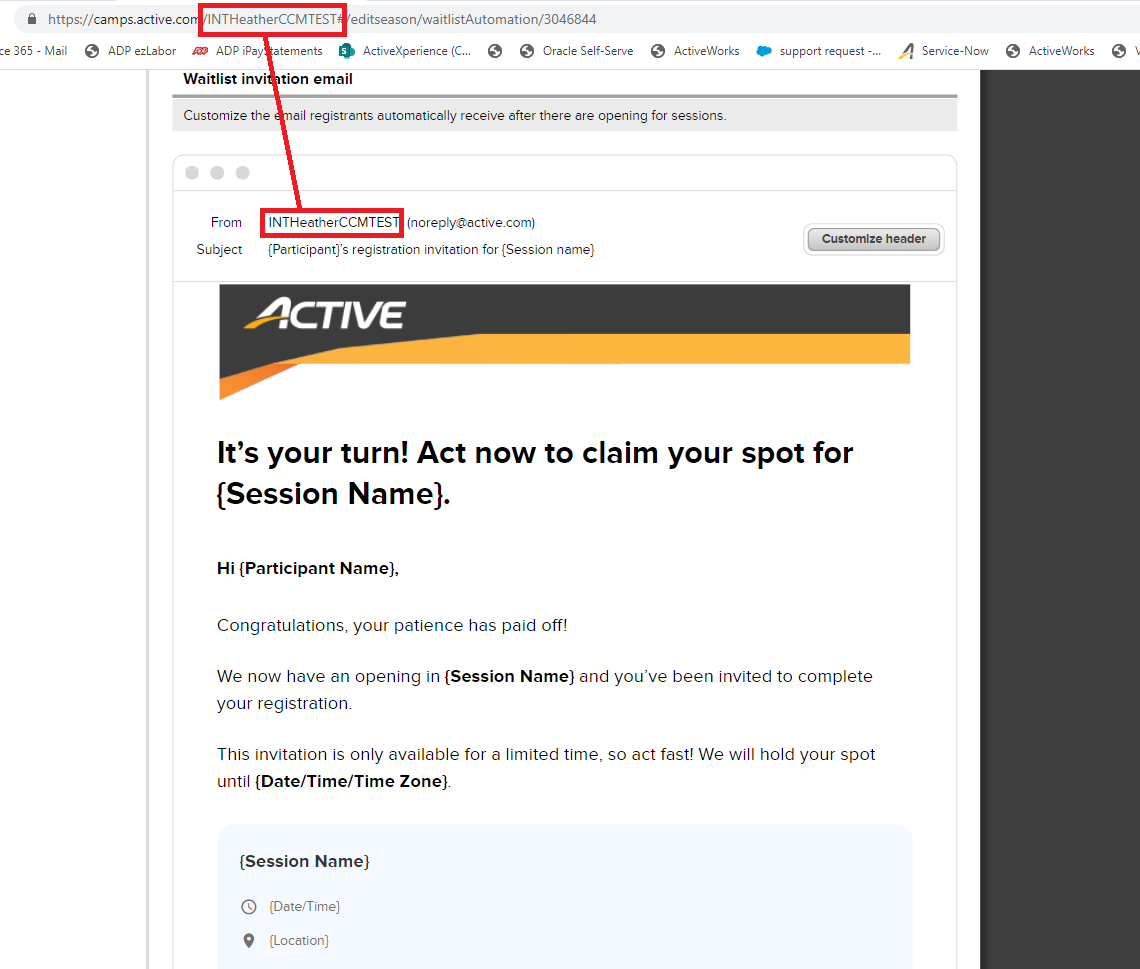
Note: The waitlist invitation email's sender name is synchronized from your agency's URL key by default and cannot be customized.
After the waitlist automation is enabled, please check the setup steps below:
- Click Setup under the season
- Click Waitlist Automation under Settings menu
- Complete Customize invitation rules to configure the following parameters:
- Invitation validity
- Waitlist automation end time
- Session applicability
- (Optional) Customize the invitation header, click Customize header
- Customize email content by editing content fonts, font sizes, styling and inserting merge fields
- (Optional) Click Reset content to reset email to default content
- Click Save and continue
Note: For information about manage waitlist registration ranking, please visit Waitlist Ranking Logic
Note: The waitlist invitation email's sender name is synchronized from your agency's URL key by default and cannot be customized.


