
To create a broadcast email:
- Click Email tab
- Click New > New email
- Select Create an email or Select an existing template
- (Optional) To use an existing template, please select the desired template from drop-down list
- Click OK
- Enter Subject, From Address, Recipients and Description
- Note: To change 'sent from' name or email address, click the pencil icon next to the email address
- Note: You can create a recipient list by Import a Recipient List, or Create or Edit a Dynamic Recipient List to target a specific group
- Note: Check the Send a copy of this email to the secondary parent, when applicable if you would like to send the email to second parent when using a dynamic list. This does not apply to selected recipients from reports or imported recipient lists
- Note: Selecting the Send a copy of this email to the secondary parent, when applicable will not recalculate recipients immediately. It takes effect during the sending stage to find secondary parents and add them to the recipient list
- Note: Description will display on the Sent list after the email is sent, Recipients will not see this description—it is for internal users only
- Click Save and continue
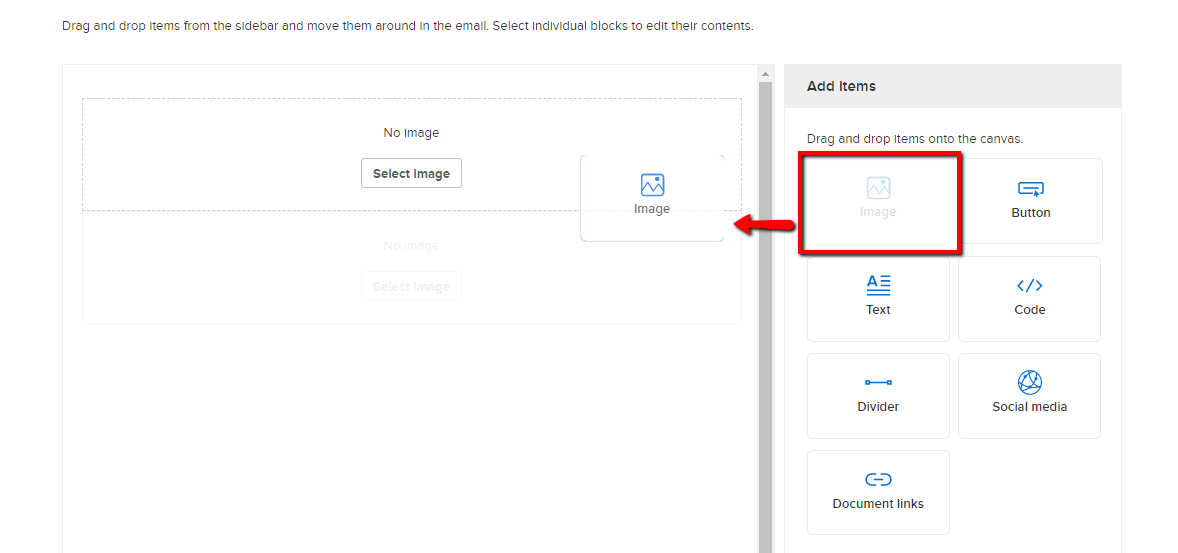
- Drag and drop items onto the canvas from Add items section
- (Optional) Drag Image and drop it onto the canvas, click Select Image to add an email header
- Note: To upload a new image for your email header or footer, see the article Add a Header or Footer Image to Emails
- Drag Text and drop it onto the canvas, double click text box or click the pencil icon in lower right corner to edit email body
- Note: You can select the font, background, and text color in the Text section on the right
- (Optional) Drag Divider and drop it onto the canvas and use it to separate different parts of your email
- (Optional) Drag Document links and drop it onto the canvas, click Select files to attach documents in this email
- Note: Acceptable file types include: DOC, DOCX, TXT, CSV, BMP, GIF, JPG, PNG, XLS, PDF and XLSX
- Note: All uploaded files must adhere to Active Network's file upload policies
- Note: Maximum size per file is 7 MB.
- (Optional) Drag Button and drop it onto the canvas to add a button with link
- Note: You can select the button font, button and background color, button label, button link, corner and alignment from the right.
- Note: You can select the button font, button and background color, button label, button link, corner and alignment from the right.
- (Optional) Drag Code and drop it onto the canvas if you need to paste your custom HTML code and design the email.
- Note: HTML and inline CSS only
- (Optional) Drag Social Media to insert your organization's social media URLs so that your email recipients can follow you online.
- Note: Available social media are Facebook, Twitter, Instagram and Youtube.
- Click Save and continue to move to preview page
- On the preview page, preview your email on both desktop and mobile devices before sending
- Note: To see how your email will appear to registrants, you can also: Send A Test Email
- (Optional) To send the email directly, under Delivery schedule, select Send this email now and click Send
- (Optional) To schedule your email to be sent automatically or at a future date and time: Select Send this email on a specific date and time, enter a future date and time and click Schedule
- Note: To ensure scheduled emails are sent at the correct time, agency users can select the corresponding time zone. The default time zone is the agency’s configured time zone
- (Optional)To save the email for future use as a draft, click Save as draft
- Note: Saved emails can be viewed by clicking the Drafts link on the sidebar of the email home page

