Below are instructions to add a course map in a confirmation email.
- Get a screenshot of the course map
- Log in to ACTIVEWorks Endurance with Existing ACTIVE Passport Account
- Click Settings at the top right corner
- Click Custom branding
- Note: If you cannot see this option, contact your Account Manager to activate it
5. Click template name
- Note: If there is no existing template, click Create
6. Click Choose file next to Image
7. Locate the image of course map and click Open
8. URL of this image is generated
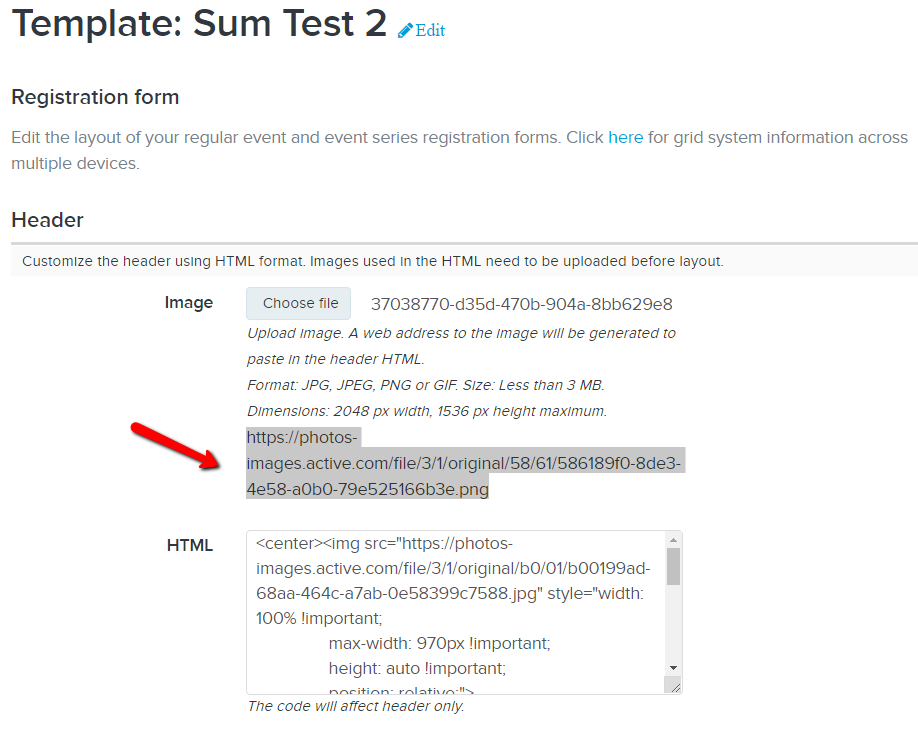
9. Select the URL, right click and select Go to http:xxxxxx

10. Right click the image displayed on new window and select Copy image
11. Go back to event setup > Emails sent out
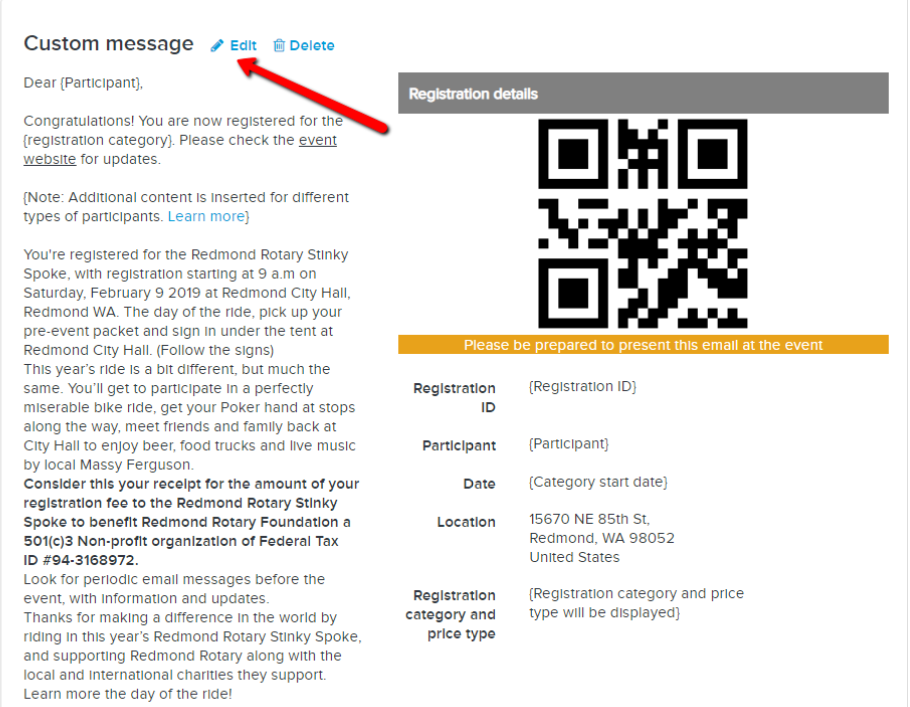
12. Scroll down to Custom message
13. Click Edit
14. Scroll down to the bottom of the message content box
15. Right click and select Paste
16. Click OK
17. Click Save & continue
Last Updated: 9/17/2019